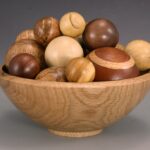
Totally Turning Demonstrators, March 28 & 29, 2026
International/National:
Donna Zils Banfield | Dennis Belcher | Kevin Jesequel | Eric Lofstrom | Matt Monaco
Remote Demonstrators:
Tod Raines | TBA | TBA
Regional:
Alan Adler | Jason Nemec | Paul Petrie | John Ryan | Mike Souter | | Larry Zarra
Please check back for updates as we add presenters.
_________________________________________
Click here to see a list of demonstrators from previous years.
International/National Demonstrators
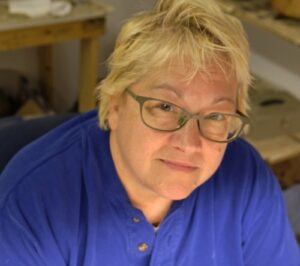
Donna Zils Banfield
New Hampshire
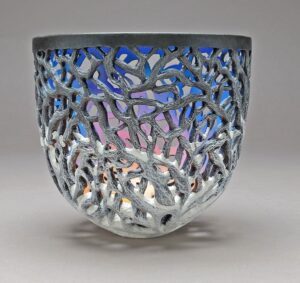
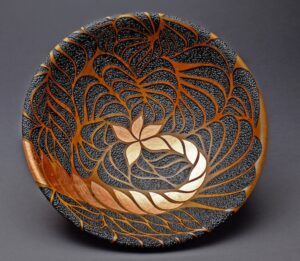
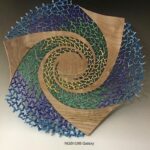
Donna Zils Banfield has been creating works of art in wood in her Derry, NH studio since 2001. She frequently travels throughout the country, where she is most sought out for teaching her surface embellishment techniques. For more than a decade she has presented at multiple Symposia here and across the Atlantic. Donna has taught at Arrowmont School of Arts and Craft, Marc Adams School of Woodworking, and Snow Farm: The New England Craft School. Her work is held in the Peabody Essex Museum in Salem, MA, the Permanent Collection of the League of NH Craftsmen in Concord, NH and private collections throughout the world. She recently appeared as one of 10 artists featured in an award-winning documentary film, ‘A Handmade Life’, which was shown at the 2024 NH Film Festival. This film also appeared on PBS in 2025.
Presentations
Creating Patterns and Texture on your Turned Work
This rotation will show attendees how to lay out an image or pattern; how to mark and where to begin. First using pencil, then a sharpened and honed woodburning tip to make the pattern permanent. This will be followed by texturing the patterns using a variety of dental burs, rotary carving burs and woodburning tips.
Piercing and Negative Space
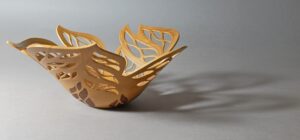
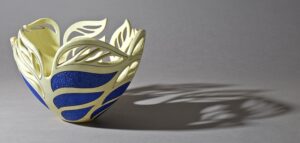
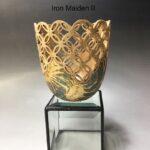
This rotation will show attendees how to ‘see’ negative space, how to create it on your vessel, and how negative space and piercing can transform the vessel.
Applying Color with an Airbrush
This rotation will show attendees how to use an airbrush. The demonstration will include applying frisket to mask off areas of the vessel, and how to add color and shading with an airbrush, and how to fix minor mistakes when they happen.

Dennis Belcher
Dennis’s woodturning journey began with childhood exposure to woodworking but truly ignited in 2004 during a Windsor chair-making workshop at the Sycamore Institute. This pivotal experience introduced him to the artistry of “measurement by eye and hand,” leading him to abandon precise flat work for the creative freedom of woodturning. After taking early retirement in 2006, Dennis has devoted himself entirely to mastering and sharing the craft.
His technical foundation was solidified through seven intensive sessions at Arrowmont School of Arts and Crafts, studying under renowned masters including Trent Bosch, Ray Key, Al Stirt, Jack Vesery, Kristen LeVier, and Josh Almond. This formal training evolved from basic turning techniques to advanced artistic expression, transforming Dennis from woodworker to artist in wood.
Since 2007, Dennis has delivered over 100 demonstrations across the United States and internationally through in person and remote presentations. His work has been featured in 58 juried art shows, earning 12 awards and recognition through two North Carolina Regional Artist Grants (2013 and 2017). His pieces have been exhibited in galleries throughout the eastern United States.
As a prolific educator, Dennis has contributed over 20 feature articles to American Woodturner, Fundamentals, and Woodturner magazines, focusing on both project-based instruction and core competencies. His topics range from practical skills like “The Basics of Workholding” and “Ten Steps to a Smooth Lathe” to creative exploration in “The Tools and Process of Creativity.”
Dennis brings unique presentation skills honed during his 30-year career in financial markets, employing humor, audience interaction, visual aids, and storytelling to create engaging, memorable demonstrations. His commitment to effective teaching was notably recognized when a participant with narcolepsy remained alert throughout his entire two-hour multi-axis disc demonstration!
During the pandemic, Dennis transitioned to remote demonstrations and founded panel discussions on “Club Meetings in a Post-COVID World,” serving as AAW Panel Moderator to help reshape the craft’s future. He continues to create educational content through his YouTube channel, featuring over 30 instructional videos since 2018 and continuing contributions to the American Woodworker. Currently he is working to revise and refresh the information on the AAW Website to train future demonstrators.
Dennis’s demonstration repertoire includes six different presentations and clinics, each flowing from his published articles and refined through years of teaching experience. His philosophy centers on two core principles: complete technical competency in the subject matter and active audience engagement to ensure lasting knowledge retention.
Presentations
Skills for Woodturners
We spend a great deal of time and energy teaching people how to turn. But no time is spent on teaching how to give a worthwhile demonstration. This lack of training is addressed by this demo and clinic.
Some of the topics covered are: Two elements of a good demonstration – Competency and Engagement; finding our own demonstration style; the six passes necessary in planning a demonstration, scripting, spots of danger, slow spots, camera awareness, blocking, and engagement; preparing for mishaps; the boring parts; talking while turning, or not?; filling the void; ending on time; and more.
Board to a Vase
All woodturners have limitations. Those constraints can be equipment or our body. An attraction of this project is that it does not require a chain saw, heavy lifting, an extensive shop, deep hollowing tools, a truck, or a strong back. Only a lathe and a basic set of turning tools are required.
The technique is gluing up a vase blank rather than turning it from a solid block of wood. This approach removes the need to hollow. A glass tube insert allows you to use the vase with water.
When Good Wood Cracks
It’s a curse and an opportunity when wood cracks. The demonstration presents a series of techniques that take the curse of a crack and turn it into an artistic opportunity.
This demonstration appeals to woodturners of all skill levels.
There are two key themes in the demonstration. The first theme is to demonstrate a safe way to use each technique. The second is unleashing the creativity of each turner to resolve cracks in their own unique way.
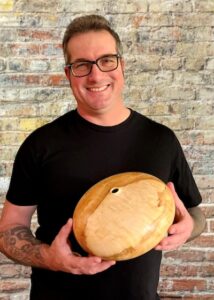
Kevin Jesequel
Portland, Oregon
Kevin Jesequel is a woodturner living in Portland, Oregon. Taking an interest in hollow forms after the passing of his mother in 2020, he has quickly become recognized as one of the top hollow form artists today. His work has been published several times in American Woodturner and he has been a juried and invited artist to numerous exhibitions. He was selected by the American Association of Woodturner’s POP Committee to receive the 2024 Artist Showcase at their annual symposium and enjoys demonstrating and teaching at clubs and schools across the country. He is an active member of two local woodturning clubs and served as president of Cascade Woodturner’s Association in 2024.
Presentations
Hollow Form with a “Fingertip” Opening
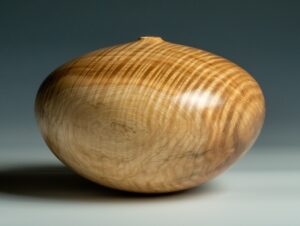 Do you have a desire to create hollow forms on the lathe? Are you already making them, but struggling with any part of the process? Do you want to give freehand hollowing a try? I will show you my process for creating hollow forms with clean lines and small openings. Through a combination of hands-on turning and discussion, this demonstration will include everything from selecting the wood to mounting it on the lathe and shaping the form to hollowing and finishing. I will also cover tool selection and use, ergonomics and body mechanics. Creating hollow forms does not need to be complex or require expensive tooling.
Hollow Form with a Natural Void
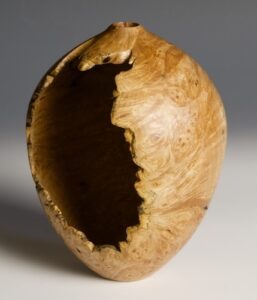 We often see hollow forms with natural voids in their walls. I have found that by leaving the natural surface of the log in the blank and manipulating the blank on the lathe, we can create much larger, natural edge voids using any piece of wood. This concept is similar to creating a natural edge bowl. Though, the resulting natural edge opening is in the side of the vessel. The thought of hollowing with such a large void may seem intimidating, but it is actually excellent hollowing practice because you can see the cutter working inside the piece as it turns on the lathe, and these are a lot of fun to make!
Natural Edge Bowl
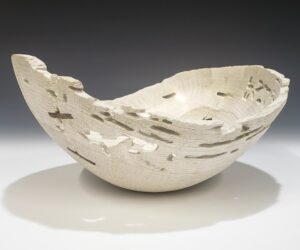 Bark on or off? There are strong opinions for each, but either way, there is something alluring about the undulating rim of a natural edge bowl. Round, oval, deep, shallow, footed or rounded, the variations are nearly limitless. In this demonstration, I will show how I orient and manipulate the blank on the lathe to achieve balance between the high and low points of the rim as well as balance through the grain in the bottom of the bowl.
Eric Lofstrom
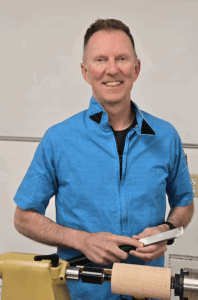
Physical Education Teacher by day and Woodturner by night, Eric is a dynamic and passionate teacher. His time away from school is filled with woodturning instruction at clubs and symposiums throughout the United States, Canada, and Europe. Eric’s educational background in Athletic Medicine, Biomechanics and Sports Pedagogy shines through in his teaching of how body movement influences every aspect of woodturning. Simplifying the complex skill of tool control into basic building blocks is Eric’s favorite way to empower others with increased depth of understanding and confidence. Eric’s woodturning instruction thoughtfully balances the technical teaching of woodturning skills with artistic embellishments to inspire creative expression. A teacher and coach to his core, Eric’s mission is to share an exuberance for exploration, connect with authenticity and presence, and to engage in meaningful work with the understanding and excitement that accompanies a growth-mindset.
Presentations
Skew Skills: “Making the Cuts!”
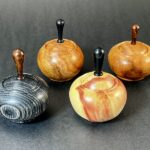
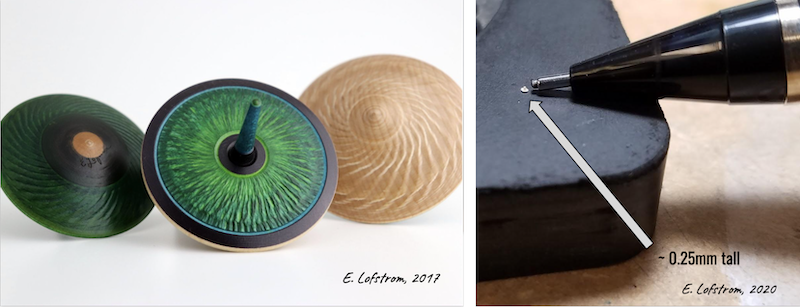
In this session, you learn basic spindle turning with the skew, simple sharpening techniques used to create a razor’s edge & methods to obtain an ultra- clean cut. You will experience several exercises using biomechanics to increase tool control & gain confidence at the lathe. This session will also showcase skill-building projects; the egg & my version of the finger-tip spinning top. The experience of using the skew & the lessons learned during this demo will expand your success with ALL cutting tools!
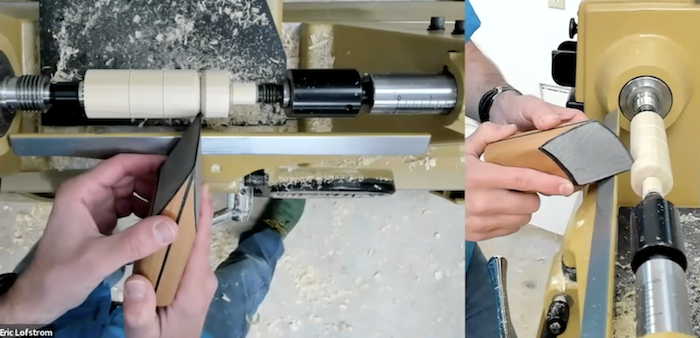
Turning an Artistic End Grain Bowl: “Namaste” Series
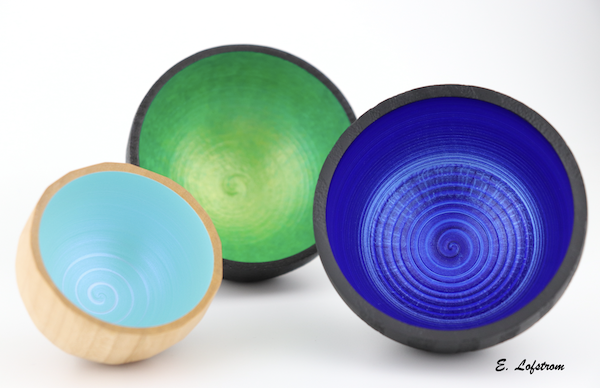
In this session, you will learn many of the techniques I use to create artistic, yet functional bowls using small end grain pieces of wood. Emphasis will be on tool control, techniques specific to turning end grain and discussion of form. We will also explore elegant coloring & texturing embellishments used to add depth & drama to a captivatingly simple form. After this session, you’ll see any small block of plain-grained wood as a potential piece of art!
Turning a Square-Rim Bowl: “Resonance” Series
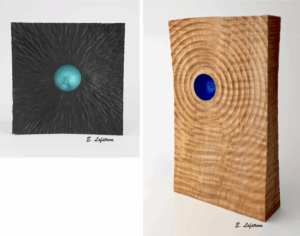
In this session, you will learn the techniques I use to turn an artistically inspired bowl with an outward flowing square rim and crisp, echoing textures. Created from a square-corner blank with basic turning tools, this session will showcase the fingernail grind bowl gouge, finishing scrapers, & a no-sanding approach to creating a clean surface ready for embellishing with texture. You will gain techniques to create a flowing form, utilizing the cleanest of tool cutting techniques to eliminate tear-out & minimize sanding, in addition to showcasing a few simple embellishments to amplify the artistic message of this series. This square-rimmed bowl session is sure to set your mind & imagination resonating with inspiration!

Matt Monaco
Missouri
Matt Monaco operates a full-time woodturning studio in the Ozark region of Missouri, and is one of a few modern traditional woodturners in America having trained & apprenticed within the handmade trade landscape as a working professional since youth— Followed by working within the high-end professional furniture production Shackleton Thomas Furniture & Pottery as a full-time in house wood turner; which preceded a time period of training and skill development while earning a living as a full-time item producer within both the wholesale tradeshow, and retail circuit. At the center of Matt’s work is his understanding, mastery, expression of fine form, tool control, sharpening, and cutting execution as a reflection of traditionally crafted design as fine art in producing forms & items that are made to be as tactile as they are sublime, and created with intent & purpose. Matt is also a Fine Woodworking Contributor & Ambassador who values both the integrity of traditional woodturning and mastery of the craft as an art, as well as diversity and mutual equity within the handmade craft and woodworking idiom. Presentations: Mastering the Skew (beginning to advanced) Woodturned Pottery Vessels Fine Detail Platters: Developing finesse, fine form and technique with gouges & the spear. Developing technique & fine form with the SkewRemote Demonstrators

Tod Raines
From Texas
I started woodworking in the early 1990’s making furniture and built-in cabinets for our home. I bought my first lathe in 2001 and was self-taught for the first couple of years. I had my share of failures, but I find that the ‘process is the journey’ of discovery and new ideas, techniques and skills are born from these failures. I attended national and regional woodturning symposiums that widened my turning knowledge and well as my community. Over the years I have attended many turning classes which really helped with my tool and turning skills but just as important I acquired knowledge about form, function and how the wood grain and texture guide the turning decisions.
I enjoy the process of turning and I use a mix of planning and serendipity as the creative process evolves. Since woodturning is a subtractive art form there needs to be some planning involved along with knowledge of the natural medium and its tendencies. It is the unknown and spontaneous nature of working wood that intrigues me but also the process of how to get to the final piece. I enjoy showing others this craft and enabling their wonder in what is hidden within the wood.
After a long tenure in the telecommunication industry, which ended in 2016, I decided that I needed a new direction in my work life. With the loving support of my wife, in April of 2017, I started Woodturning Tool Store, an eCommerce business selling woodturning tools.
Personal website: https://ntrwoodturning.com/
Presentation
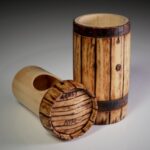
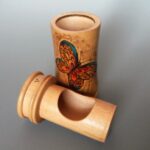
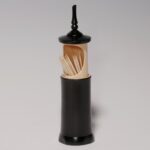
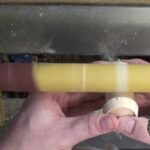
Turn a Piston Box
This demonstration will show how to make a piston box. This is a cylinder box made hollow using forstner drill bits. Traditional gouges and tooling will be used for turning although carbide tools will work as well. This project makes use of the tail stock for drilling operations for all the hollowing therefore no special hollowing tools or techniques are needed. There will be some room for some individual design decisions on the style and form of the box. This project also uses a few shop-made jigs. A great project for beginners and advanced turners.
Material
- one 2″ x 2″ x 8″ spindle blank; dry lumber stock; pine preferred (not 2×4 stock); poplar, soft maple, other inexpensive domestic ‘soft’ hardwood
- one 2″ x 2″ x 1/8″ thick hardwood or ply (a sheet can be cut down); this is for a class made jig/gauge
- a lathe mounted sanding disk, 4-6” diameter
- a lathe mounted sanding drum, 1” diameter about 6 inches long
- extras of each just in case.
- sanding supplies
Tooling
- four jaw scroll chuck with 2″ dovetail jaws
- drive and live center with cone center attachment
- their own turning tools
- bowl gouge(s), scraper(s), spindle gouge(s), roughing gouge, parting tool, skew, beading/parting tool if they have it
- calipers or dividers to measure
- Jacobs chuck
- forstner bits 1-1/8″ and 1-1/4″
- hone for sharpening drill bits
Steps to turn a Piston Box
Inspired by the AAW Journal June 2015 article by Walt Wager. Modified version of instructions by Tod Raines
1. Mount square blank into the chuck or optionally turn to cylinder – min 1¾” x 8”
2. Turn tenon and mount in chuck; optional
3. Re-true and face off end; mark center of end for forstner bit
4. Drill 1 1/8” hole 2 – 2.25” deep
5. Use 1 ¼” forstner to mark end
6. Mark depth on outside; add ¾” for top
7. Turn inner cylinder outer diameter to size – 1 ¼”; use the shop-made sizing jig; sand as desired
8. Part off the inner cylinder
9. True up end and mark center for drilling
10. Drill 1 ¼” hole to 1/16” deeper than inner cylinder; sand inside of outer cylinder as desired
11. Jam chuck the inner cylinder in the outer cylinder (use paper towel for tight fit if necessary)
12. Shape the outer profile as desired; also shape the end of the inner cylinder
13. Sand as desired and then part off the box.
14. Create a jam chuck for the outer cylinder and shape the end as desired; sand as desired
15. Create a short jam chuck for the inner cylinder then use CA glue to glue the inner cylinder to the jam chuck and then part off the enclosed inner cylinder; sand as needed using the disk sander
16. Use a sanding drum to create the opening in the inner cylinder (I used a lathe driven 1” dowel with wrapped sanding strip paper); finish sand the opening by hand
17. Add magnets if desired
18. Finish and/or decorate as desired (note as finish could be applied with still on the lathe)
There are lots of ways to experiment with this technique. Turn safe and have fun.
Happy turning.
Regional Demonstrators

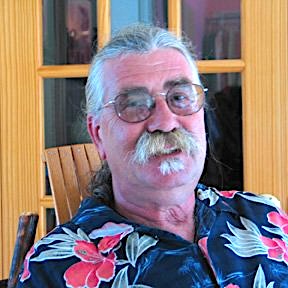
Alan Adler
From New Jersey
Alan brings his background in design and a Master’s Degree in Package Design from Pratt Institute into the art of woodturning — a craft he discovered in 2009 and instantly fell in love with the process.
After decades of designing products for industry, he returned to his creative roots to pursue art for personal fulfillment.
Alan is an active member of Hudson Valley Wood Turners in Northern NJ where he leads the mentoring group.
He is represented by galleries in NJ, NY, CT, and PA. and online.
Presentations
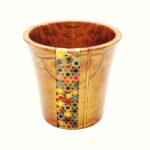
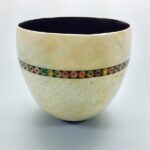
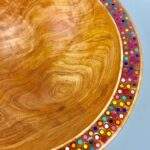
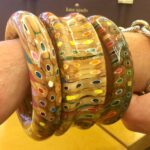
Embellishing Bowls with Colored Pencils and Resin
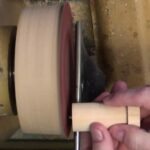
Basics of adding colored pencils to the rim of a turned bowl
Adding Colored Pencil and Resin Features to Bowls, Vases, and Flat Work
Enhancing turned and flat work using colored pencils, pyrography, airbrush, carving, etc.
Paul Petrie
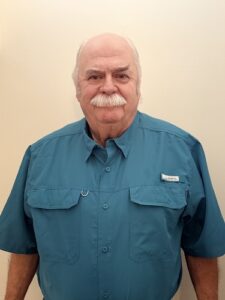
From Vermont
I have worked with wood most of my adult life. A course with Russ Zimmerman in Putney, Vermont gave me the turning bug. Meeting Binh Pho in 2001 and developing a friendship over sixteen years brought piercing and texturing to the forefront of my work. Passing on the knowledge to others is very important and enjoyable to me.
Presentation
Introduction to piercing
We will look at tools required, from the NSK air tool, compressor, burrs and the cutting techniques to properly use them. Included will be a discussion of suitable woods and thickness, as well as design image and combining with texturing and other embellishments.
John Ryan
John Ryan is a pen maker and resin caster with nine years of hands-on experience creating custom resin components for the turning community. He specializes in designing and casting resin label blanks, combining precision cutting to reliable casting techniques to produce clean, professional results.
John is passionate about sharing practical, shop-tested methods that help other makers achieve consistent, high-quality outcomes in their own work.
Presentation
Resin Pen Blank Production
In this demo, John will walk through his complete process—from designing and cutting labels using a Cricut machine to casting finished blanks with Alumilite resin in a pressure pot. His approach focuses on repeatability, clarity, and minimizing defects, making it well-suited for both hobbyists looking to improve their results and experienced makers seeking a more efficient workflow.
Mike Souter
From Maine
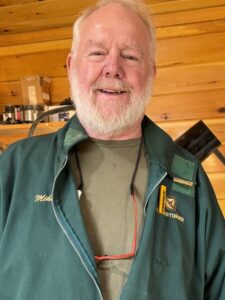
Mike Souter
Originally from Massachusetts and now living in Eliot, Maine, Mike Souter jumped into woodturning with both feet from the start—quickly discovering that it would become a lifelong personal passion. He has been turning for more than 22 years, creating everything from bowls, boxes, hollow forms, platters, and goblets to the occasional pen. His work reflects a practical, technique-driven approach that emphasizes clean form, smart tool use, and allowing the natural character of the wood to guide the final result.
Along with his wide-ranging turning experience, Mike has taught woodturning at both Woodcraft and Rockler, helping turners at all skill levels build confidence and foundational skills. His teaching style is approachable, clear, and rooted in years of hands-on shop experience. At this symposium, Mike shares proven techniques, problem-solving strategies, and insights gathered over two decades at the lathe—offering attendees inspiration and practical skills they can take home and apply right away.
Presentation
Pop Top Box
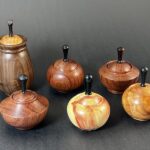
In this demo, I will demonstrate how I make my pop top boxes, inspired by the beautiful snap-lid boxes created by Jeff Lavine. His work motivated me to develop my own approach to this style of box. When turned correctly, the lid fits with a satisfying snap, and when removed, it produces a pleasing pop. Achieving this fit requires precision—there is a very fine line between too loose and just right.
My method is somewhat backwards compared to Jeff’s process, but the end results are very similar. I will cover shaping and hollowing the base, along with forming the rim recess that accepts the lid. I will then demonstrate how I create, shape, and carefully size the lid for the proper fit. I’ll also discuss the custom tool I made to create the slight dovetail needed to achieve that snap fit. These boxes are as challenging to make as they are satisfying and make an excellent exercise in precision and control.
Larry Zarra
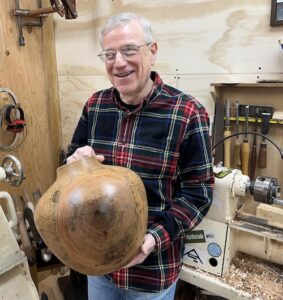
I am an experienced speaker and demonstrator, and am at ease in front of a crowd. Over the last 30 years I have done numerous demonstrations at woodturning clubs I belonged to, including Bayou Woodturners in New Orleans, Comanche Trail Woodturners in Midland, Lone Star Woodturners in The Woodlands, Gulf Coast Woodturners in Houston, and New Jersey Woodturners and Watergap Woodturners in New Jersey.
I am a retired applied research scientist. In my professional career I gave oral presentations at dozens of national and international conferences and conducted hundreds of technical classes and workshops. I have demonstrated at SWAT eight times (2006, 2009, 2010, 2011,2014, 2019, 2022), including stints as an emergency back-up demonstrator. SWAT demo titles include; turning a bowl with multi-wood inlay rings, turning tops for fun and profit, turning miniatures, turning small and very small hollow forms, and fun with spindles.
During the past few decades, I have sold my work at regional galleries, by private commissions, and at national level juried art festivals, including Bayou City Art Festival, Woodlands Waterway Art Festival , Three Rivers Art Festival, Fresh Art New Orleans, etc.
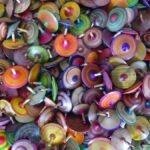
My primary interest is creating large vessels and bowls from green wood, focusing on perfection in form and excellence in execution. Any added ornamentation is subtle. I also routinely turn boxes and an assortment of small spindle items, including more than 12,000 spin tops. I like to demonstrate miniatures because they offer a fun and fast learning experience, and are easily accessible to beginners with mini lathes. Additionally, repeated practice of miniature items will elevate the skill of any woodturner.
